For co-op and condo living, a close look at the contract—including why it exists
written by Carol Wang - November 27, 2018 (Sweeten.com)
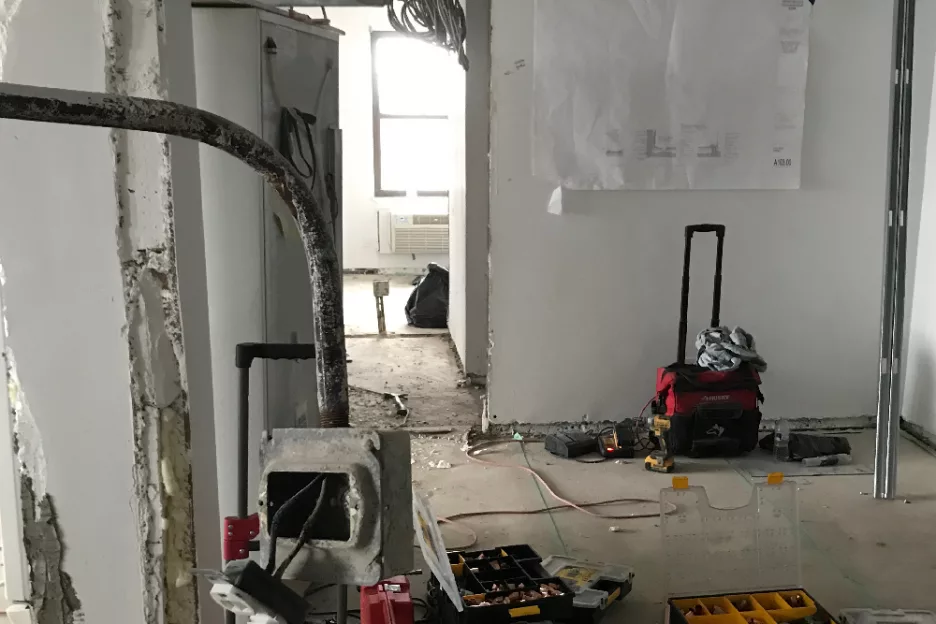
Chances are, if you’re renovating in an apartment building—whether it’s a co-op or a condo—you’ll know what an alteration agreement is. And if you don’t, read on! It’s one of the many factors that will determine whether your renovation vision can come to life.
Alteration agreements recognize the reality of urban living: your neighbors are just a wall, ceiling, or floor away. What you choose to do in your renovation will affect their apartments and their lives over the duration of your project. This document prioritizes the greater good of the building over your desire for a new kitchen configuration, but it doesn’t mean that you can’t get that new layout—it just means that you have to be considerate of your fellow residents.
What is usually included in an alteration agreement?
SCOPE OF WORK: The document will request a scope of work from your architect or general contractor. This, along with submitted plans, will be reviewed by the board and its architect. They may have questions for you.
INSURANCE: The agreement will ask you to provide the proper paperwork from your contractor and any subcontractors working on the project. Pay attention to the level of insurance required. In New York City, buildings typically require $1 to $2 million of coverage. Some buildings, however, require upwards of $5 million.
TIMELINE: Boards like to maintain the quality of life for other building residents over the course of your remodel. One way is by restricting the hours of the day—and sometimes even the months of the year—that a renovation is permitted. Usually, there cannot be loud noises prior to 10 a.m. or after 4 p.m. Additionally, Jiwoo tells us that in some apartments on Central Park West, for example, homeowners are only permitted to do renovation work in the summers.
Alteration agreements may include information on how long your project can take and require a penalty fee if you exceed that deadline. While many alteration agreements include this penalty, boards are often willing to extend the date or to provide a grace period.
Other agreements may dictate that only a certain number of renovations can be ongoing at any given time, so you may have to plan your date and wait for your neighbors to complete their projects before you can begin yours.
WET-OVER-DRY RULE: This is another key element to look for in an alteration agreement. If you’re hoping to move or enlarge your kitchen or bath into spaces previously designated as bedrooms or living rooms, you may run into challenges. Buildings often want to keep all the “wet” rooms in a vertical stack due to the possibility of leaks. Your architect can work with the board to explain how precautions will be taken to limit the possibility of leaks or noise from these rooms that might be disruptive to neighbors.
Is it worth submitting plans that request something that is expressly prohibited in the alteration agreement?
The document provides the ground rules for your renovation. That said, depending on the character of your board and the management company, it might be worth raising a discussion on a reasonable point if you think that the agreement is outdated or does not reflect current practice. Examples could be the enforcement of the wet-over-dry rule or the prohibiting of a new HVAC system. The first person to ask is the property manager—if that person says no, it’s not worth wasting your time.
What if there is no alteration agreement?
If your building does not have an alteration agreement, it does not mean that you are free to take a no-holds-barred approach to your renovation. This means that the approvals process will be dictated entirely by the composition of the board and its preferences. Smaller buildings might not have this document and these approvals processes tend to be very hands-on. This scenario may play out in the renovator’s favor, however, given that these small buildings can also be more open to your vision.
Important things to remember
Sweeten contractor Santiago reminds us of the purpose of alteration agreements: “The main thing is that the board wants to protect itself. Second, it wants to protect the other shareholders.”
But you should take the document with a grain of salt. “It only gives you so much insight. It’s a formal document, but the truth of the matter is only revealed when you jump into the process,” explains Sweeten architect Jiwoo. “Ultimately, the alteration agreement tells you very little about what the review process is like. It’s not until you get comments back from your board’s engineer or architect that you will really discover what is off-limits and what is permitted.”
Use your alteration agreement as a guide, but work with your architect and general contractor to help you navigate both the agreement and the co-op board. Find the experts with the right experience and you’ll be on your way to demolition and a reimagined space.